Visual Inspection
Cladding
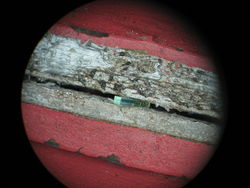
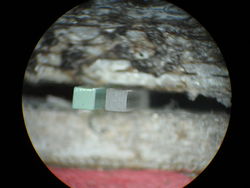
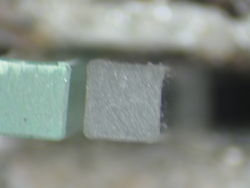
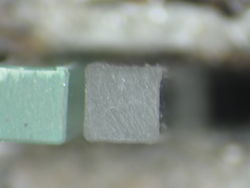
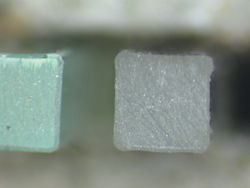
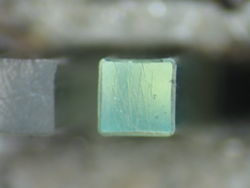
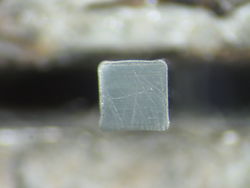
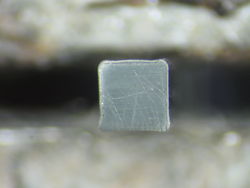
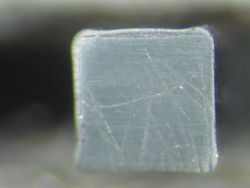
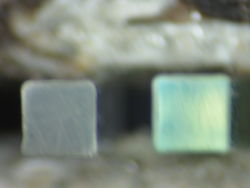
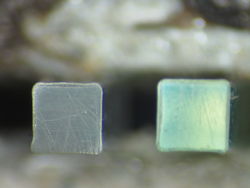
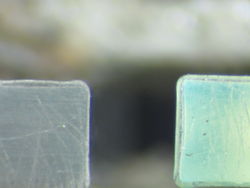
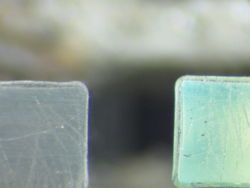
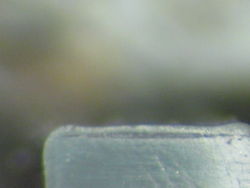
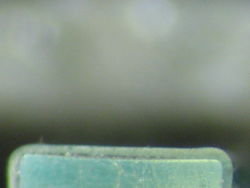
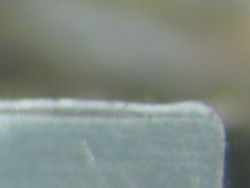
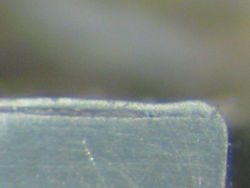
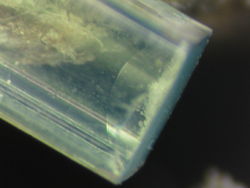
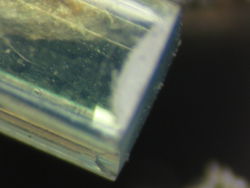
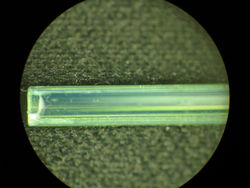
The following end-on pictures were taken of a scintillating fiber and a light guide segment under a microscope, after the ends have been polished using office paper. From these pictures, it is difficult to discern any difference between multi-clad fiber and single-clad. The scintillating fiber (light blue-green tint) is multi-clad according to the manufacturer Saint-Gobain, whereas the light guide in these photographs is single-cladding fiber.
 |  |  |  |
 |  |  |  |
 |  |  |  |
 |  |  |  |
 |  |  |
Effects of Painting
These are photos of Fiber 3 of Bundle 7. We are looking to see if there is any damage that can be seen on the areas of a fiber which were painted and cleaned in comparison to the area which the fiber was never painted.
Unpainted
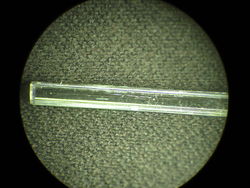
These are photos of the section of fiber which was never painted. The are of fibers 3 and 13 of Bundle 7.
 | 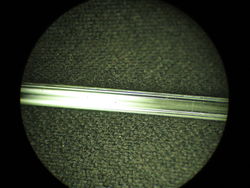 | 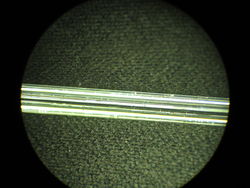 | 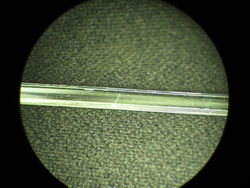 |
| Unpainted Bent Fiber Photos |
|---|
Bent, Painted, then Cleaned
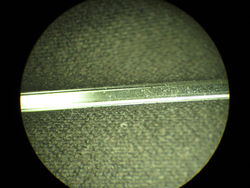
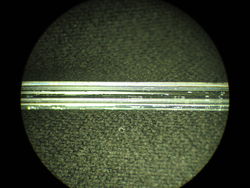
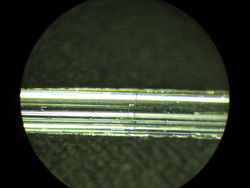
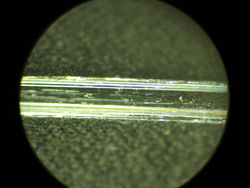
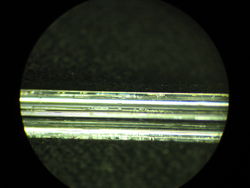
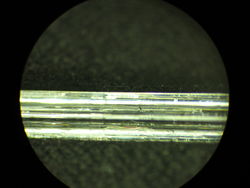
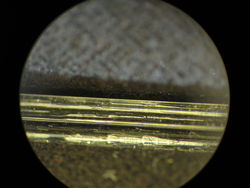
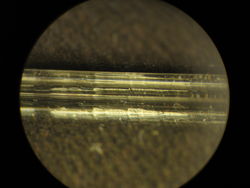
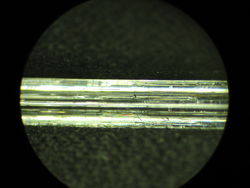
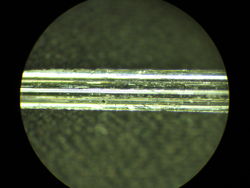
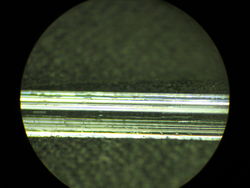
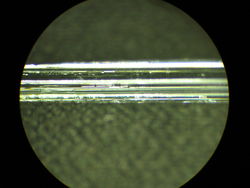
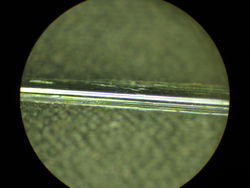
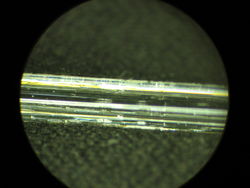
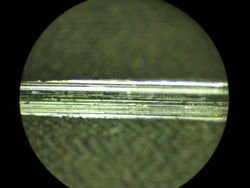
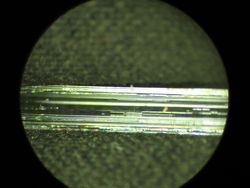
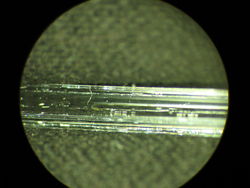
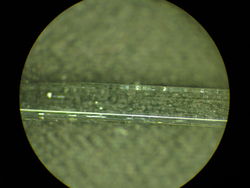
These photos are from the long section of fiber which was painted and then cleaned with water and a cloth. They are ordered from the tag (near the light guide end) to the fuse site. This means the photos towards the end are photos near and of the S-bend. It's difficult to see anything when looking at a fiber directly at a face. However, if you look at the fiber from it's edge, you can see some patterns. This section includes the large bend and the S-bend.
 |  |  |  |
 |  |  |  |
 |  |  |  |
 |  |  |  |
 |  |
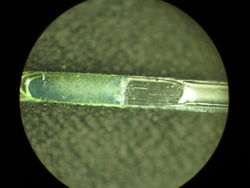
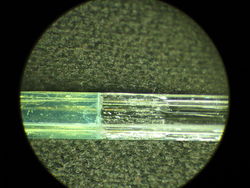
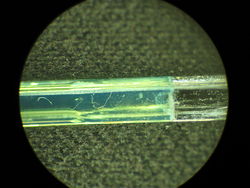
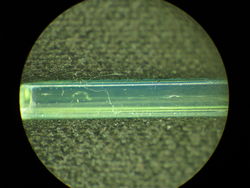
Painted and Cleaned Fuse
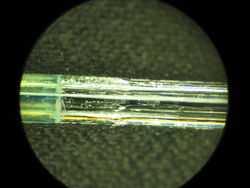
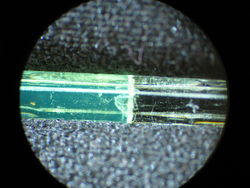
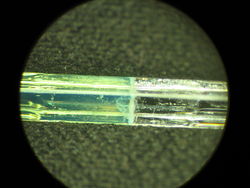
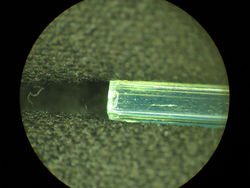
These photos are from just the fuse site and the SciFi end.
 |  |  |  |
 |  |  |  |
 |
Heated Cleaning Process
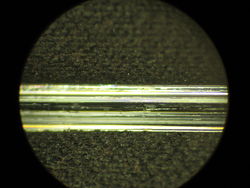
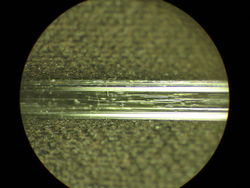
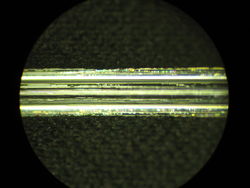
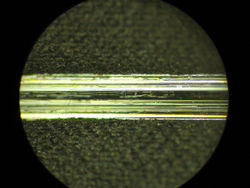
This fiber was placed in steam before the paint was removed with water and a cloth. The paint did come off easier. These photos are from a cleaned section in the straight portion of fiber between the S-bend and the large bend.
 |  |  |  |